I posted this on the Quilting Board yesterday and figured I should share here to. I realize this isn't a new design but am confident that no laws/rules are broken because I figured it out on my own before ever seeing it anywhere else. :)
For the intermediate/advance quilter, you can skip about halfway down if you'd like. I wrote this from start to finish so that even the most basic beginner can follow.
Materials Needed-
You can cut your own squares or triangles.
I am using two charm packs.
Two Fall Batik Charm packs from Connecting threads (which equals one reg.charm pack from almost anywhere else)
One White on White charm pack from Wal-mart that my Aunt gifted me.
Your choice of boarders- I picked up One Yard of a Blue Batik from Heaven on Earth (an LQS about a half hour away) I only think it will take a half yard when sewn but haven't done that yet lol

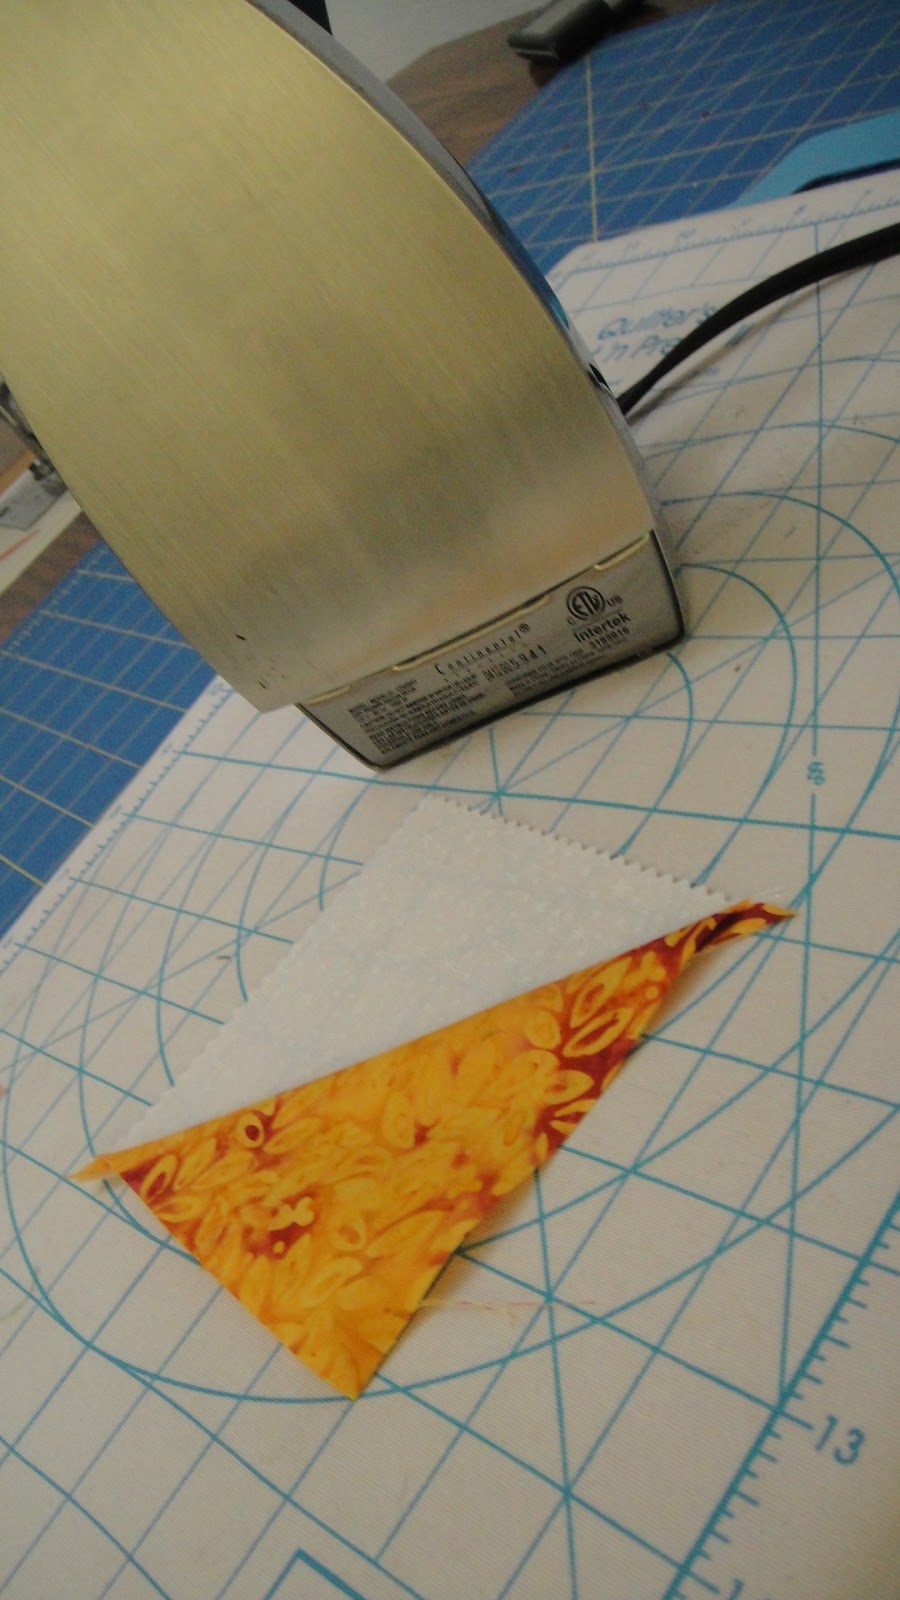
If you cut triangles you can skip this step! I like to
fold my light fabric in half and crease it with an iron
instead of using a marking pen.

Still loving this iron :)

All done and here is what we are working with.
On the black and white quilt I used the
easy angle ruler and cut 6.5 in HST then
sewed them together individually. I find
the square process so very much faster!

Match one light to one dark, right sides together.
I pin mine to prevent shifting

About half done

Using a 1/4 in foot line it up with the crease and sew
down one side. Chain piecing these goes quickly.

Now we flip around and do the same down the other side
chain stitching the other side.

Line your ruler up and cut down the middle.

All but one of mine looked like this :)

I got in a hurry on one and look what happened!
I just re-sewed it with a scant quarter inch and it
was fine after trimming up... oops ===:o
Don't forget to set your seam!
The Quilt Police might show up if you forget ;)

All ironed and ready for trimming.

I trimmed down to 4" but they could have easily been 4.5
I just have a severe dislike of pinked edges.
The mess with my seams : /

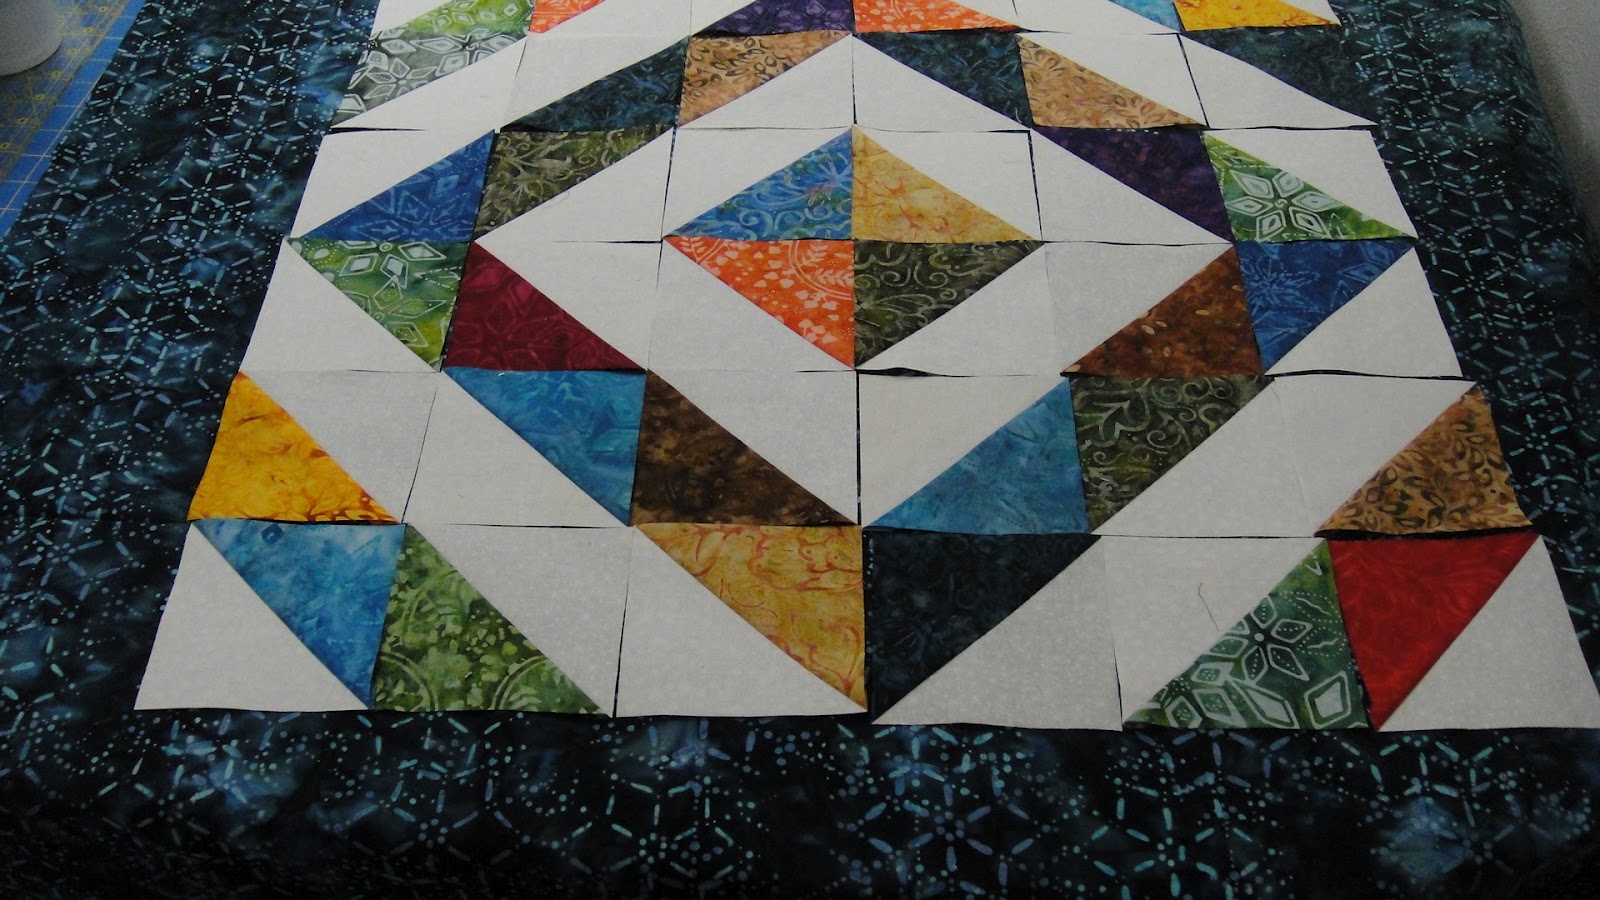
Now pick out 4 of your favorites.
These are mine.

Put them together to create our center diamond.

Now take our next two and make a light triangle
right above our dark triangle.

Repeat that for the other three sides.

Now fill in your corners, just math dark edges
together to make a solid line.

Next we put our Dark triangles above the light
go ahead and do all four sides :)

Now we fill in the light line, just match
light to light. Then you can start on filling
in the dark corners.

Rinse and Repeat with light corners just as we
did the last couple times.

Keep going until you have the size you want!
See easy as pie!

If yo want to make sewing easier the quilt can
be split up into 4 identical quarters.

It breaks down to this.

For visual learners here it is separated to make the
block orientation very clear.
Don't Forget to pick a boarder you really like!
I love this one but will add a small solid white boarder first to
help separate the top from the boarder.
If your a rebel, you can skip the boarder all together and just quilt and bind!
No comments:
Post a Comment